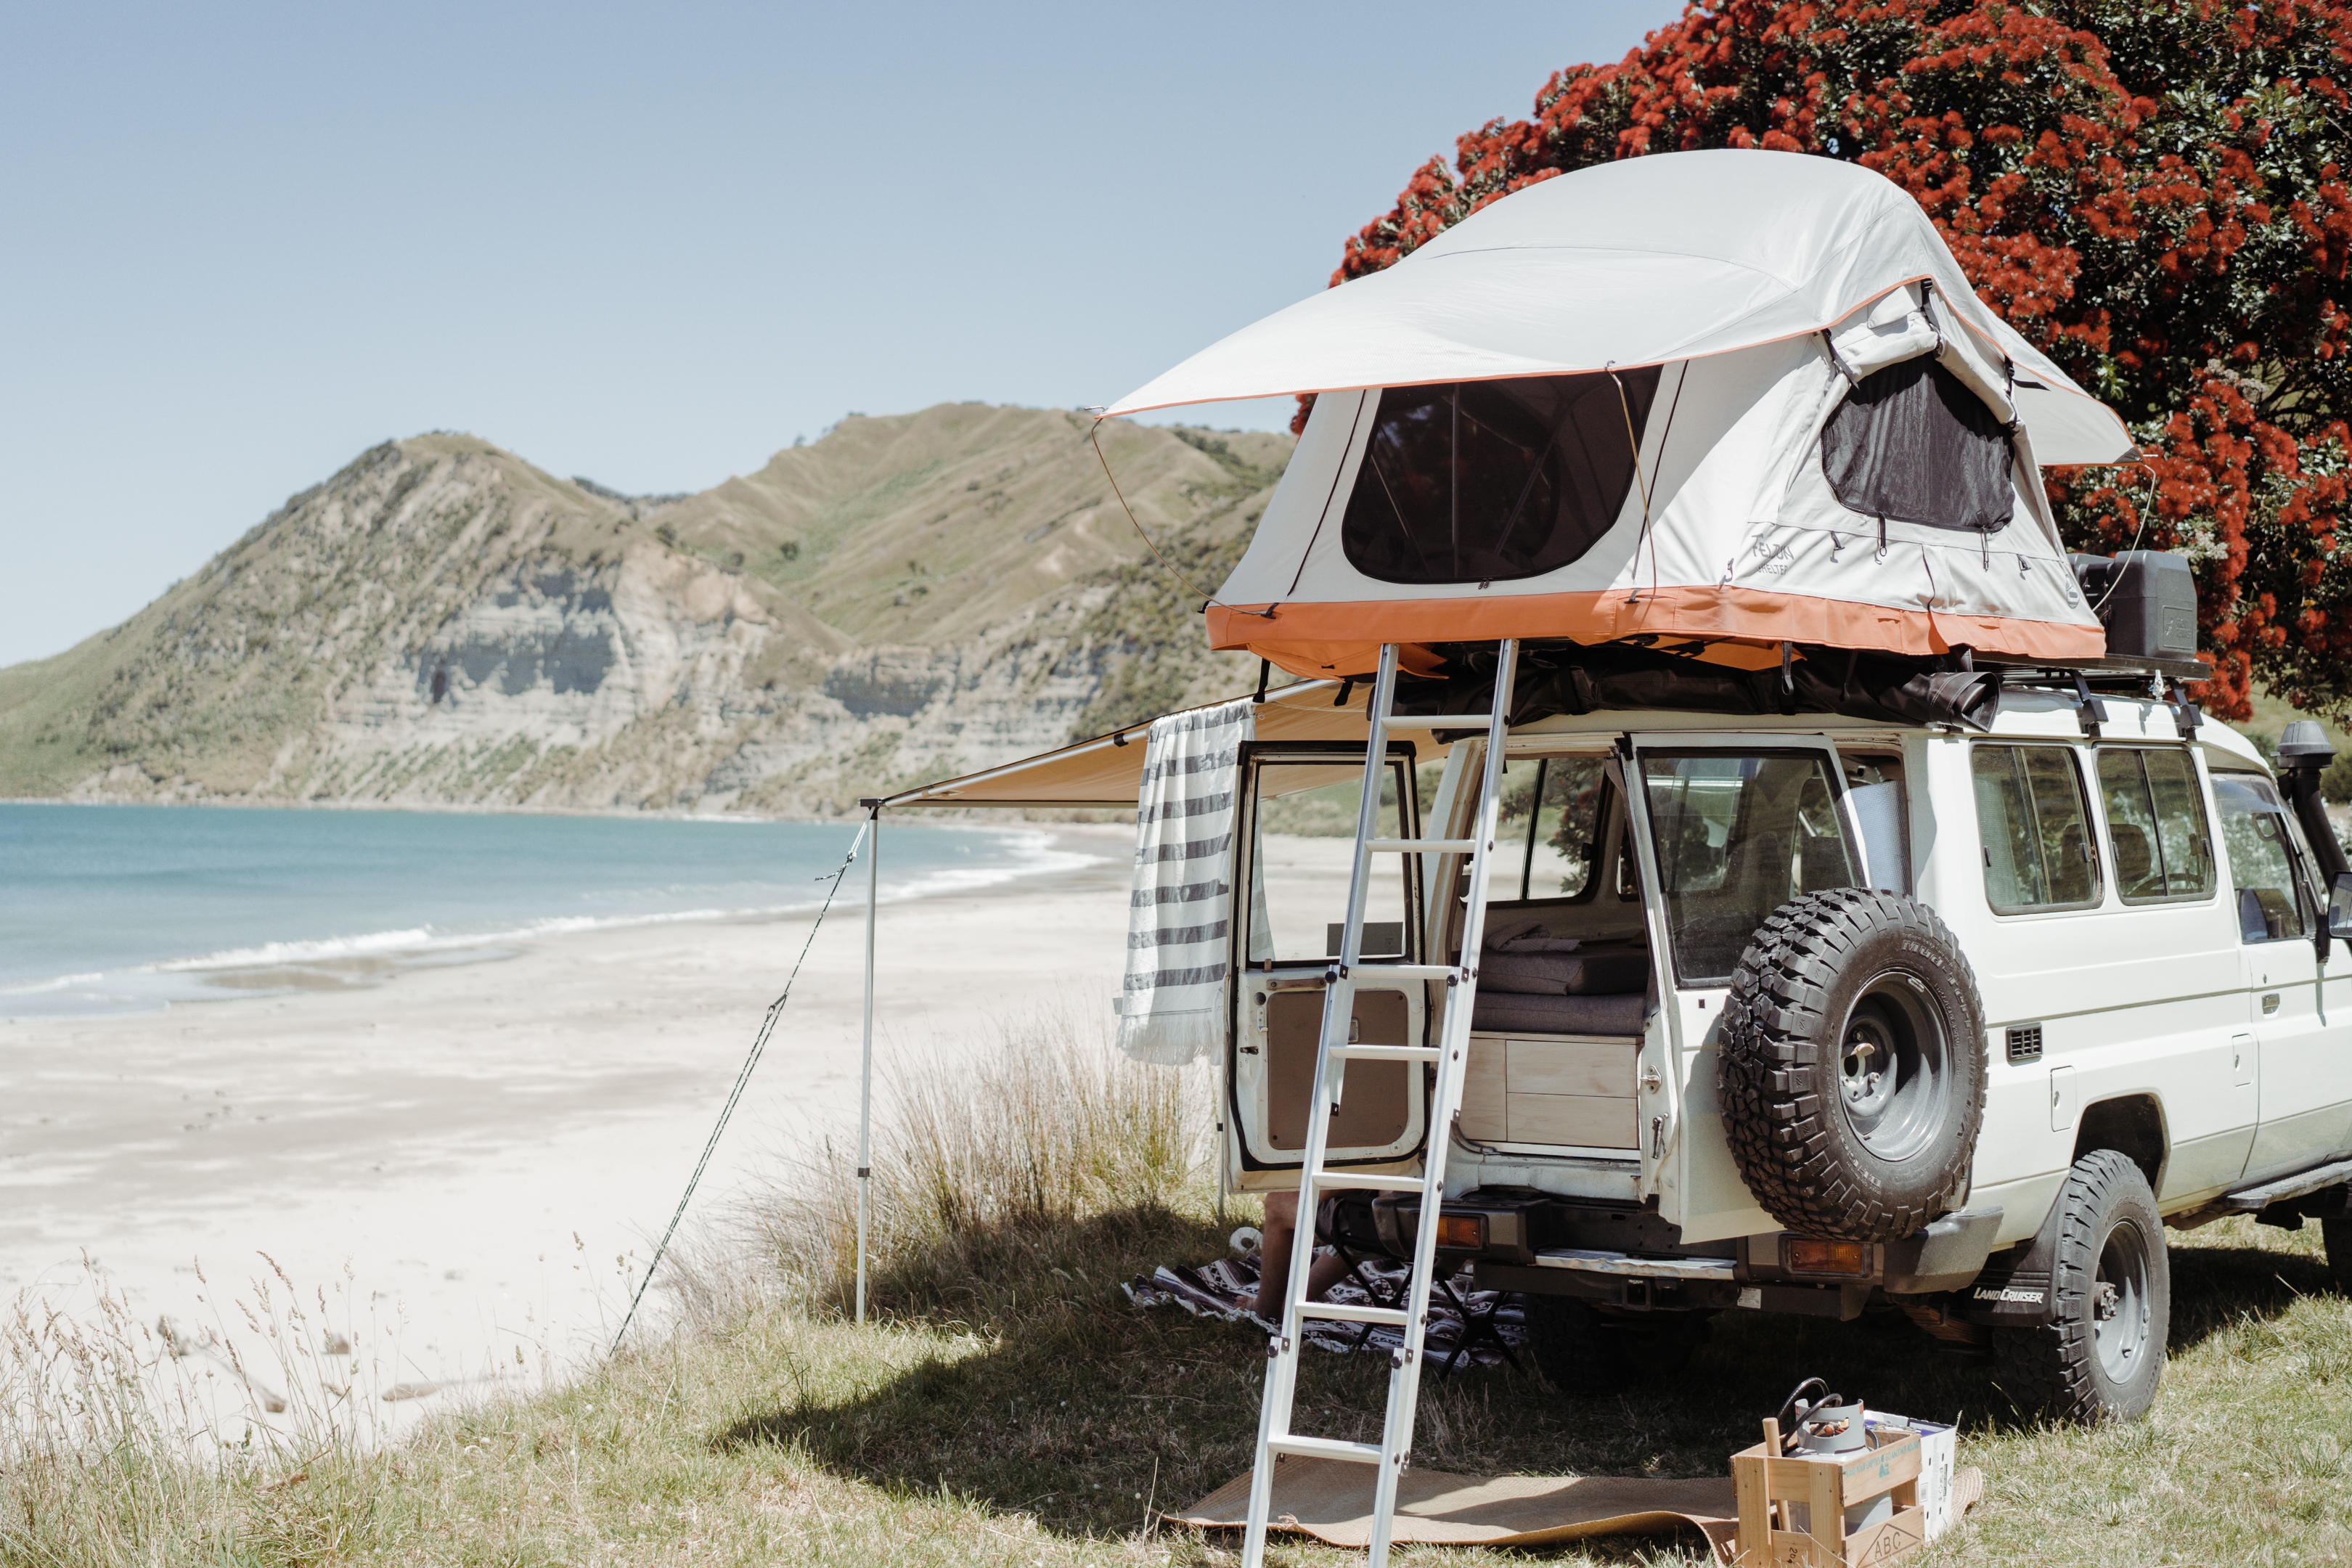
There is no doubt about it, a tidy and well-organized 12V dual battery system on your overland vehicle is the way to go. For the last 5 years, I have always organized my 12V system in different trucks on a ‘powerwall’. A powerwall is basically a board whereby all of your auxiliary power, charging, switches, outlets as well as other 12V accessories go.
The reason why I put all of this on one board is that it is very easy to organize all of your 12V systems and make it neat and off-road proof. Should you ever need to troubleshoot something, a well-designed powerwall will make this very easy as well. Once you have a powerwall in your setup, you’ll never look back. I’ll go through the in’s and outs of my setup to give you tips and inspiration for your own build.
Finding a space
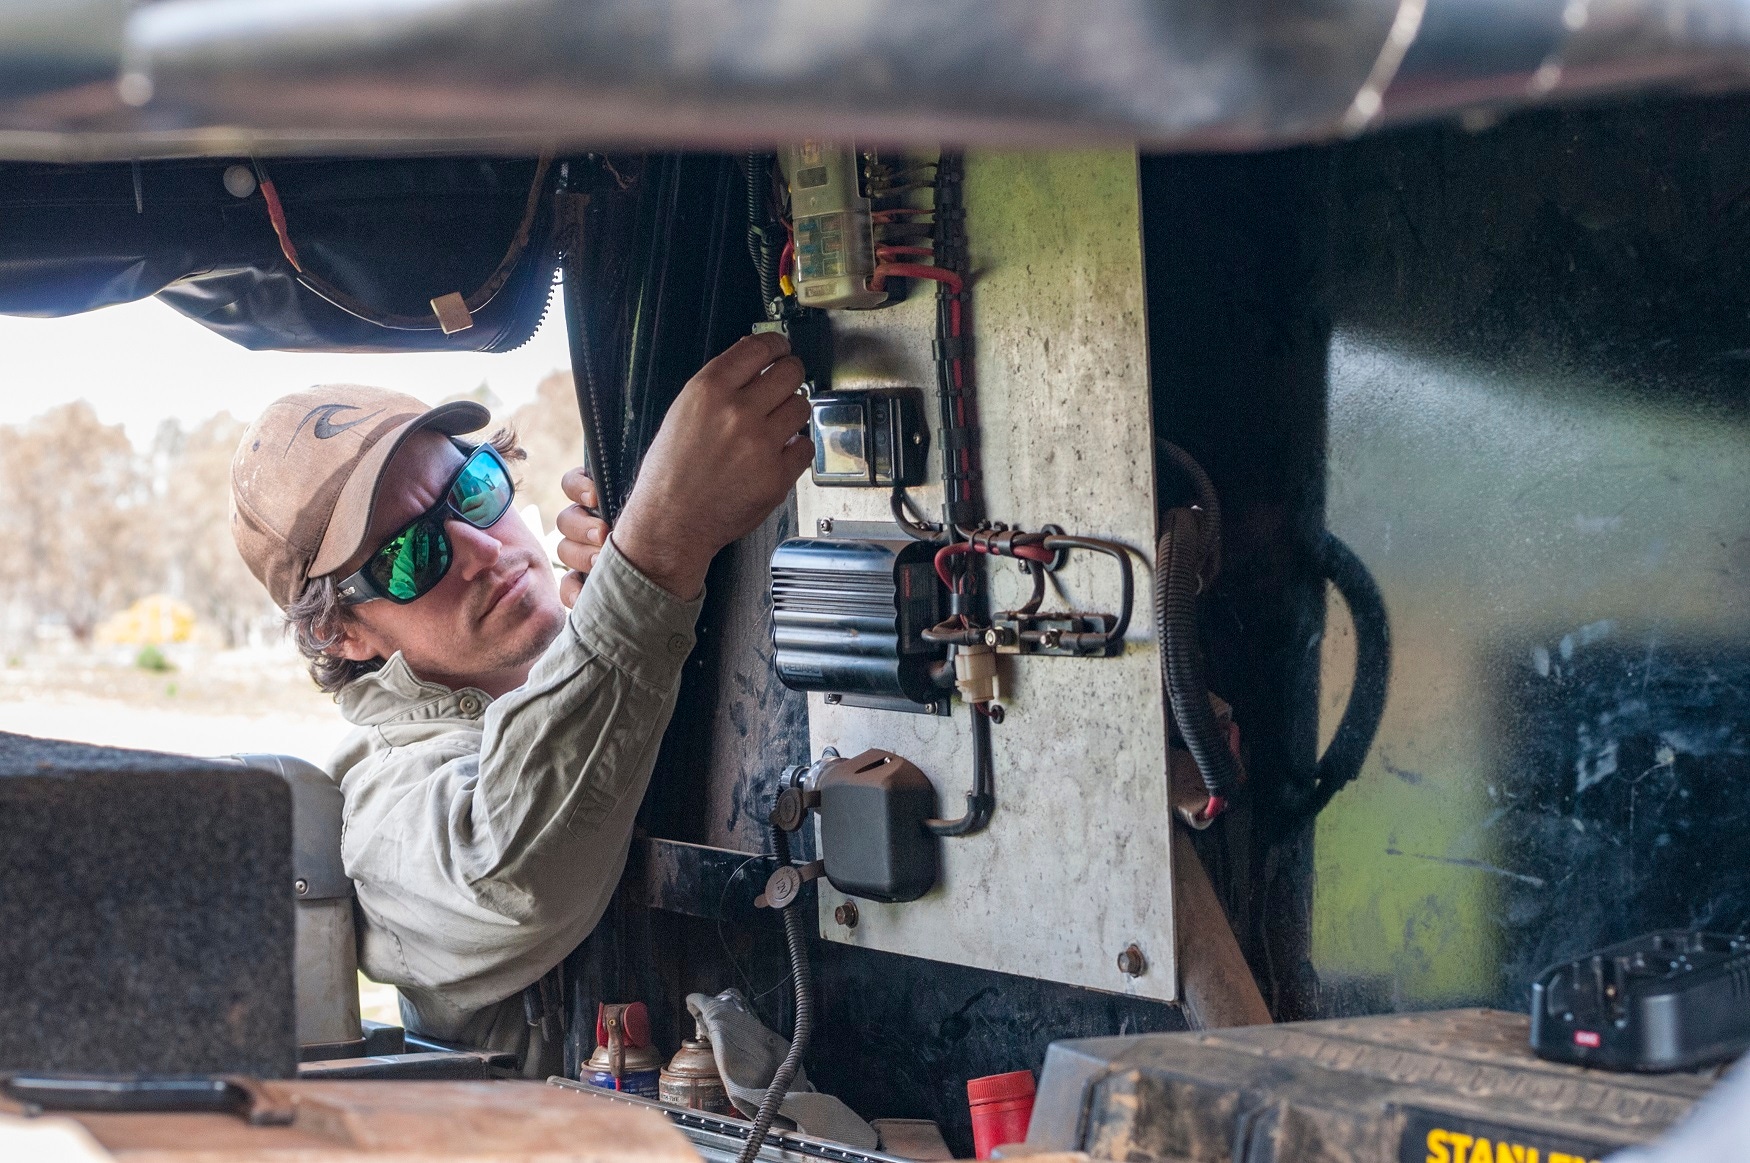
The first thing you want to do is find a space in your vehicle or canopy that is a good place to mount your powerwall. Some good places are either behind the rear seats, on a cargo barrier or on the headboard of your canopy. The size of the board that is needed will, of course, be determined by what charging and accessories you want to run and what space you have. A basic setup should house your charger, outlets, switches and a fuse block. The charger is the backbone of your powerwall and as a result, the location that you choose for your powerwall should be in close proximity to your auxiliary batteries.
Across my two setups, I have a REDARC BCDC1250D DC to DC battery charger and a REDARC Manager30 battery management system. This the backbone of your powerwall.
Plan your powerwall
The key to a well-organized powerwall is to plan exactly what you want on it and even go as far as drawing it out on a piece of cardboard to scale. Include all of the accessories and equipment you plan on having, even if you don’t have everything just yet. It is a lot easier to run all wiring now and add accessories later, than to modify and add to your powerwall later.
For example, on my truck I have run wiring and switches for a water pump and roof rack camp lights, even though it will be some time before I add these accessories. The last thing you want to do is to mess up your neat wiring to add something later. Think about everything you will want when you are planning and when you are sure you have thought of everything, make sure there are provisions (switches and fuses) for a couple of extra accessories.
Must Haves
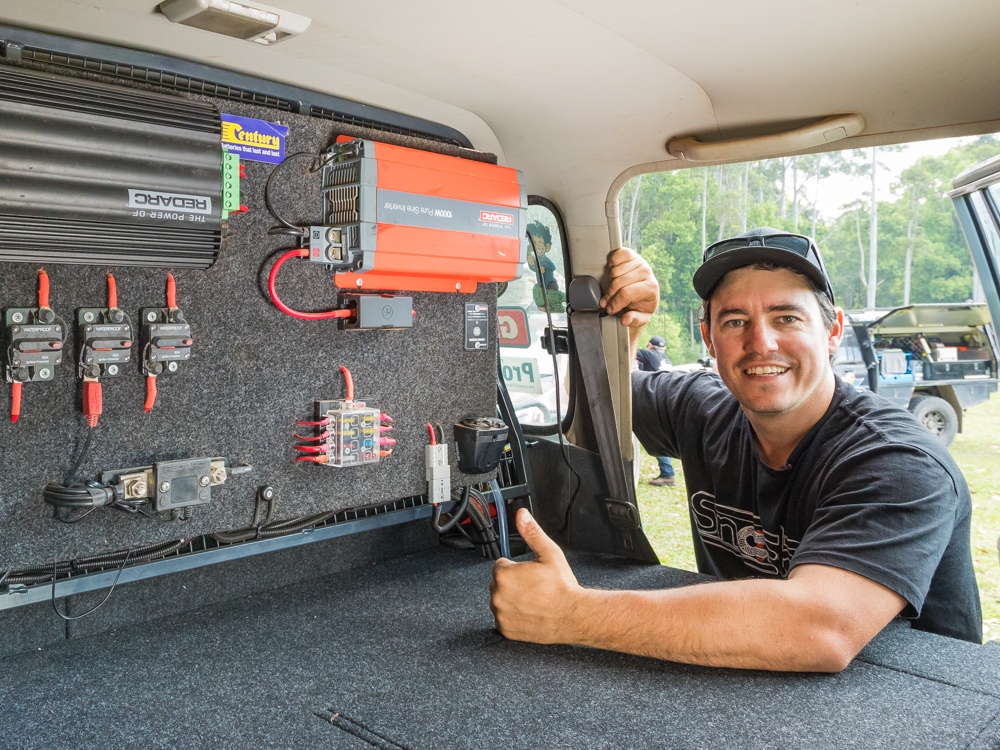
You will need a charger mounted to your powerwall and also consider having a display, so you can see what charge is going into your system, how much power you are drawing and the voltage of your auxiliary batteries. The REDARC Manager range comes with a display screen which does all of this and more.
I suggest you use heavy duty resettable circuit breakers on your input and output and mount them on the board, so you can see at a glance, if something has tripped your system. Also, mount a waterproof fuse block with at least 6 fuses and corresponding switches.
For power sockets, I always run a mix of standard cig sockets, USB and Anderson plugs. This will be up to you as you know what 12V accessories you want to run, but it’s good to have a mix as you’ll never know what you will want to power in the future.
When it comes to wiring everything up, you will not only want the wiring to be neat and hidden but also accessible in the off chance you should need to access it. I have always found that making the panel easy to remove from the vehicle is very helpful should you need to work on it later. Make sure you use Anderson plugs on all heavy-duty wiring that goes to and from the board to make removing the board easier.
There’s no right and wrong way to build a powerwall for your truck, canopy or RV, and every setup will be slightly different. Once you install a powerwall into your vehicle you’ll love the fact that your 12V setup will be very neat, organized and ultimately, off-grid proof for many adventures to come.
Catch you next time,
Shaun
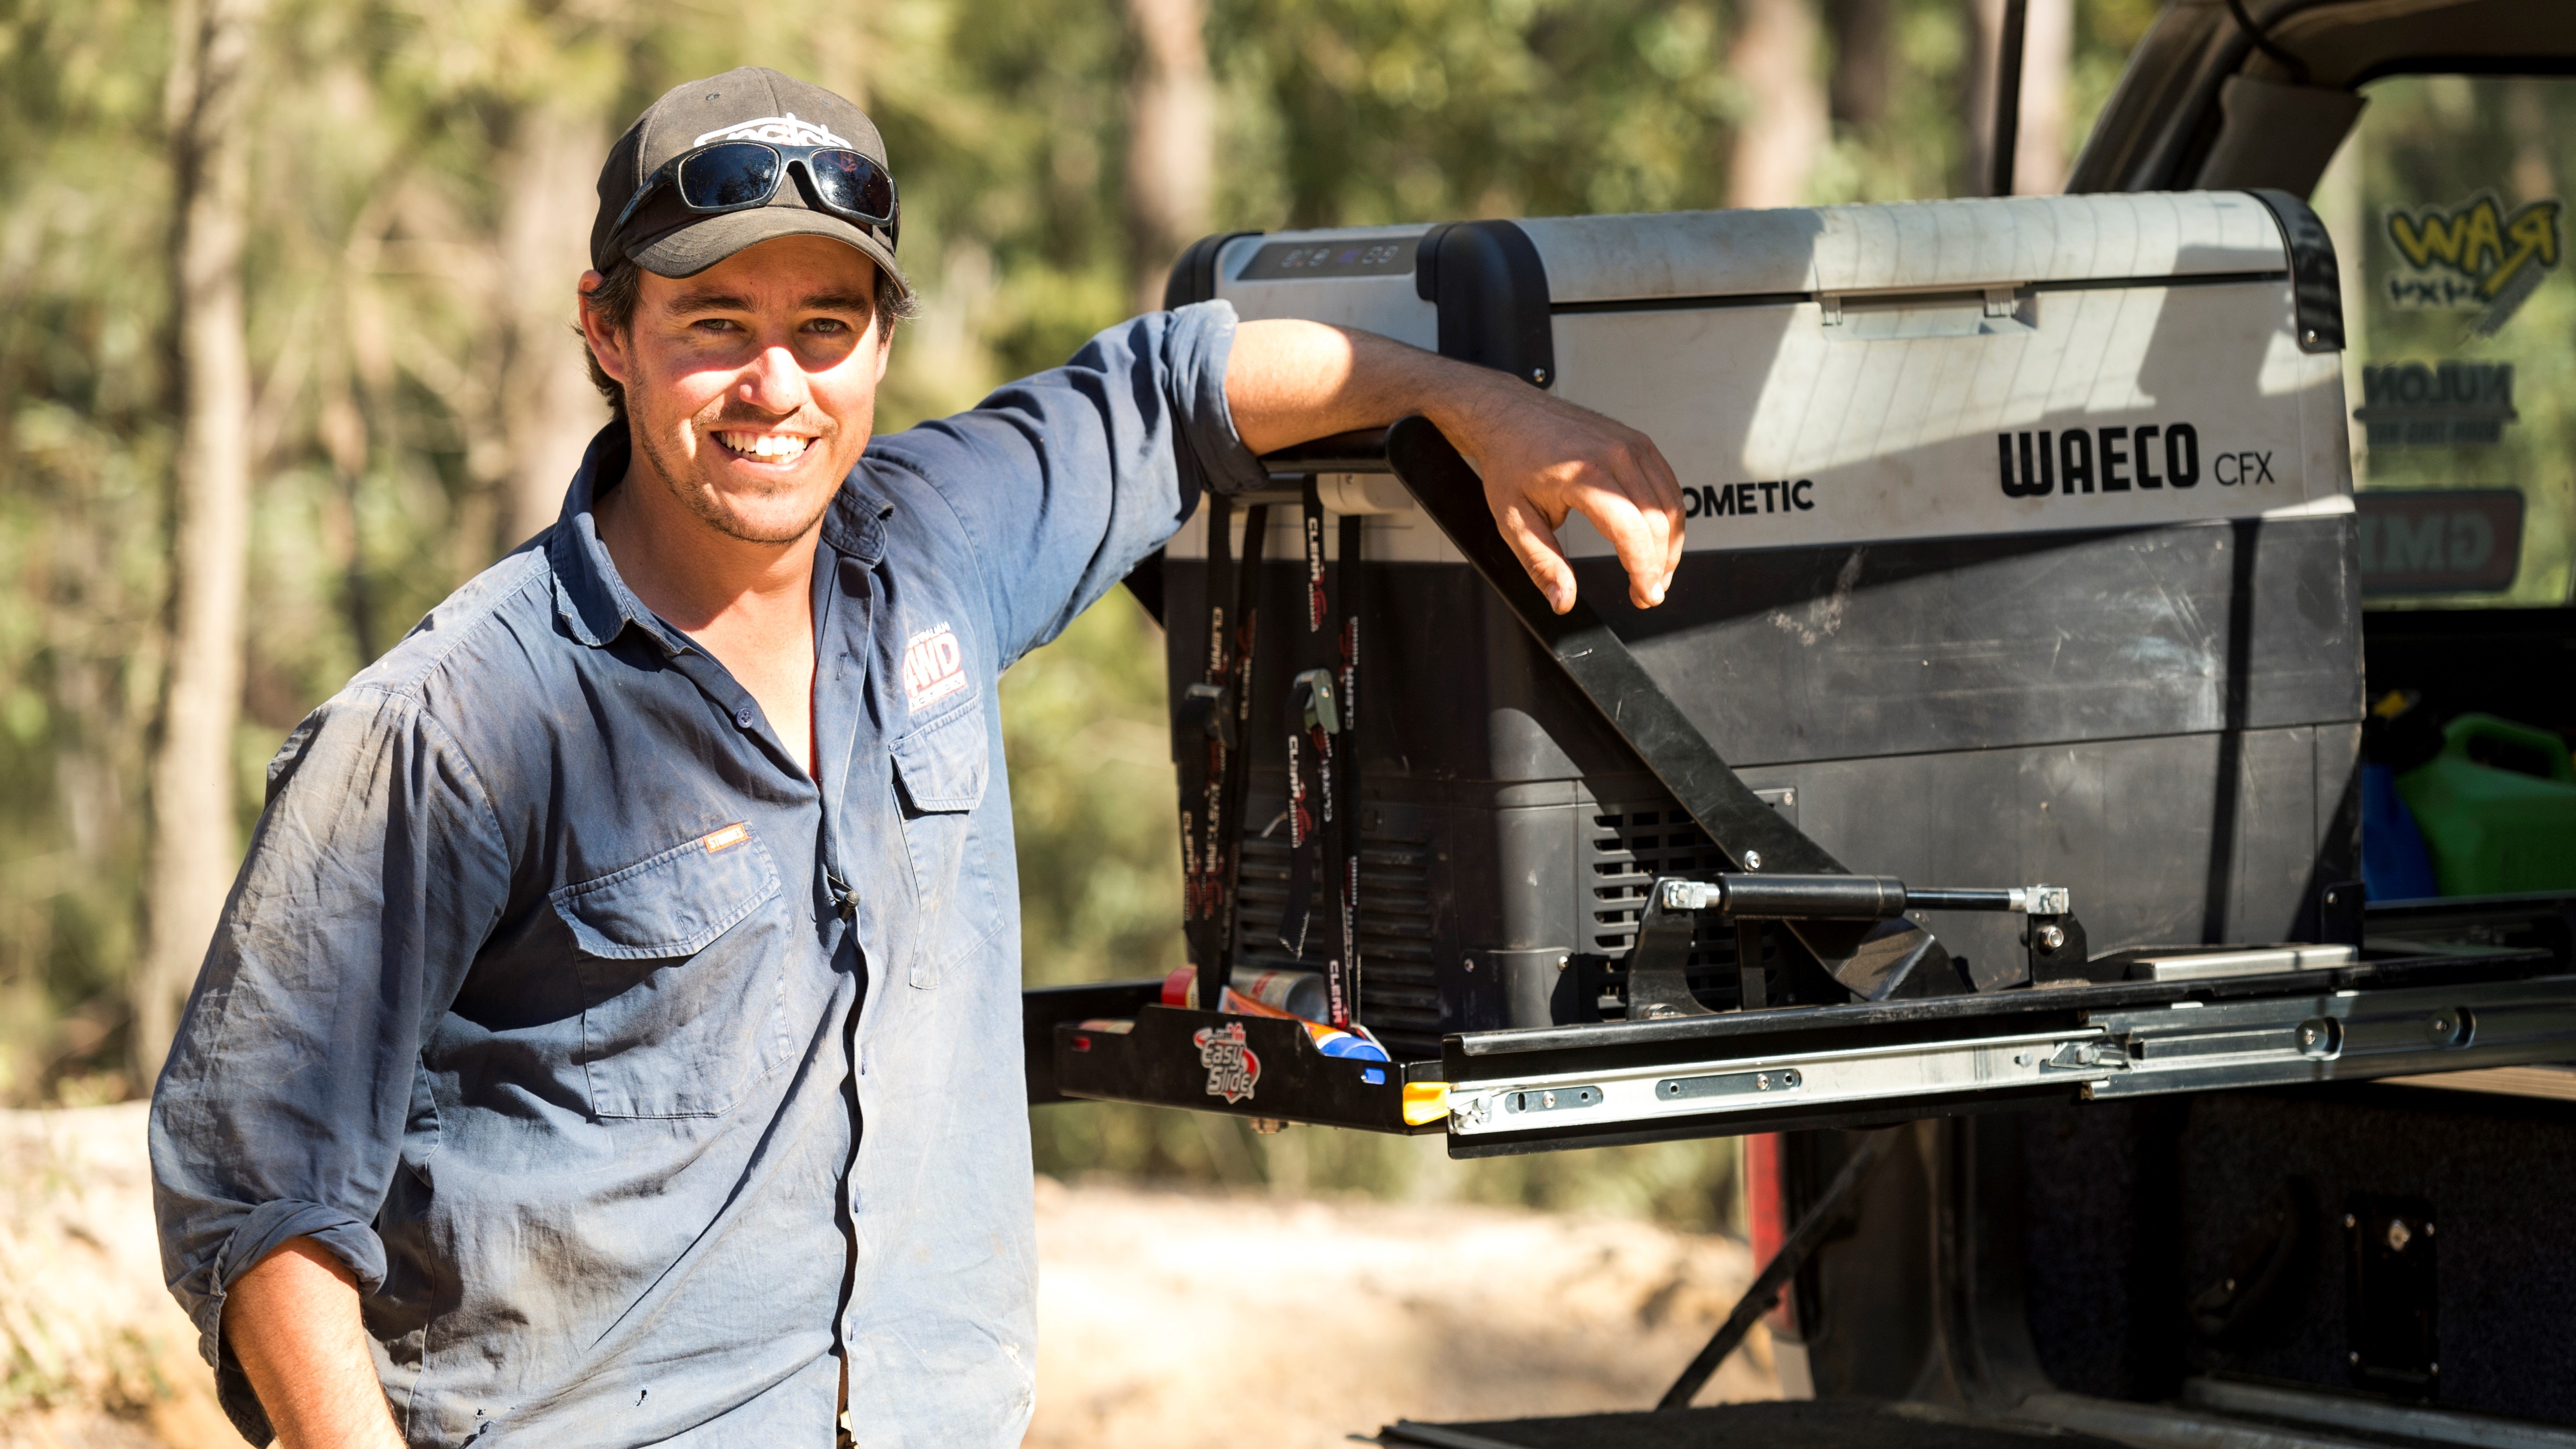
For more information on the BCDC and how it can power your off-grid adventures check out Shaun Whale’s setup below.